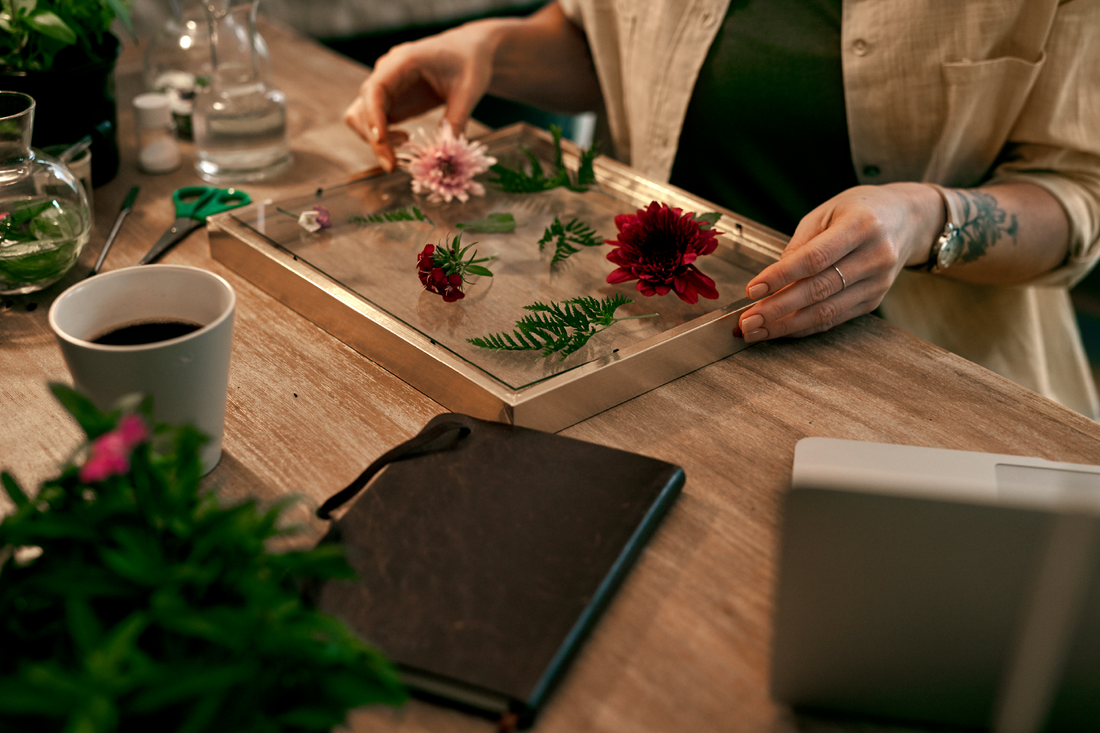
There’s something undeniably charming about dried flowers. They capture the beauty of nature in a timeless way, preserving memories and adding a unique touch to any decor. Framing dried flowers is an excellent way to display them, whether they’re a special bouquet from a wedding or a collection of wildflowers from a memorable hike. In this post, we’ll guide you step-by-step through the process of framing dried flowers, from selecting the perfect blooms to choosing the right frame.
Materials Needed
-
Dried Flowers
Dried flowers are the centerpiece of this project. They bring natural beauty and a personal touch to your framed artwork. Choose flowers that retain their shape and color well after drying. Popular options include roses, lavender, daisies, and baby’s breath. Ensure they are fully dried to prevent mold and decay. For a varied look, mix different types of flowers. Consider the color palette and choose flowers that complement each other and the background.
-
Picture Frame
The frame provides structure and protection for your dried flower arrangement. It also enhances the visual appeal. Choose a frame size that suits your flower arrangement. Frames come in various styles, such as classic, modern, and rustic. Select a frame color that complements the flowers and background. If you need help choosing the perfect frame, continue reading after the step-by-step
-
Background Material
The background material serves as the canvas for your flower arrangement. It should highlight the flowers and add to the overall aesthetic. Options include plain or textured paper, fabric, or canvas. Light, neutral colors typically work best as they make the flowers stand out. Consider using acid-free materials to prevent discoloration over time. Experiment with different textures to add depth to your display.
-
Glue or Double-Sided Tape
These adhesives are essential for securing the dried flowers to the background material. Use a clear-drying glue that won’t show through the petals. Double-sided tape can be easier to handle for small, delicate flowers. Test the adhesive on a small area first to ensure it doesn’t damage the flowers or background.
-
Scissors
Scissors are used to trim the flowers and cut the background material to size. Choose sharp scissors for clean cuts. Craft scissors with a pointed tip are ideal for detailed work.
-
Tweezers
Tweezers can help you position delicate flowers without damaging them. You can also use tweezers to make final adjustments to the flower arrangement before securing them in place.
Step-by-Step Guide to Framing Dried Flowers
Step 1: Select and Prepare Your Flowers
Choosing the right flowers is crucial for a beautiful finished product. Opt for flowers that have been properly dried and retain their color and shape. If your flowers aren’t dried yet, you can press them between heavy books or use an air-drying method. Popular choices include roses, lavender, and baby’s breath.
Step 2: Choose the Right Frame
Selecting the right frame enhances the beauty of your dried flowers. Consider the size of your flowers when choosing the frame. For a minimalist look, go for a simple, classic frame. If you prefer a rustic vibe, a wooden frame works well. Modern and sleek frames are also great for a contemporary look. Ensure the frame color complements the flowers.
Step 3: Prepare the Background
Your background material should highlight your flowers without overpowering them. You can use plain or textured paper, fabric, or even canvas. Light, neutral colors usually work best. Cut the background material to fit the frame’s dimensions.
Step 4: Arrange the Flowers
Lay your background material flat and start arranging your dried flowers. Play around with different layouts until you’re satisfied with the arrangement. Aim for a balanced and aesthetically pleasing design. Use tweezers to position delicate flowers if necessary.
Step 5: Secure the Flowers
Once you’re happy with your arrangement, start attaching the flowers to the background. Use a small amount of glue or double-sided tape to secure each flower. Be gentle to avoid damaging the flowers. Ensure they are firmly attached but still maintain their natural appearance.
Step 6: Assemble the Frame
Place the background with the attached flowers into the frame. Secure the frame’s backing and make sure everything is aligned properly. Check for any adjustments needed before fully closing the frame. Ensure that the flowers and background are tightly secured and won’t move.
Choosing the Perfect Picture Frame for Dried Flowers
A picture frame is more than just a border; it’s a vital element that complements and highlights the beauty of the dried flowers. The right frame can make your floral arrangement look elegant, cohesive, and timeless. It also provides essential protection against dust, light, and physical damage. Next we'll go over the different elements you need to consider when picking the perfect frame!
Choosing a Frame Size
The size of the frame determines the overall balance and focus of your artwork. An appropriately sized frame ensures that your flowers are neither cramped nor lost in too much empty space. Here are our tips:
- Measure Your Flowers: Start by measuring the height and width of your dried flower arrangement to make sure it'll fit the frame.
- Consider the Composition: Decide if you want a snug fit or if you prefer to have some breathing space around the flowers. Shadow boxes are excellent for bulkier arrangements, while flat frames work well for pressed flowers.
Choosing a Frame Style
The style of the frame sets the tone for your artwork and should complement both the flowers and the room’s decor. Check out our quick tips below to make sure you get the right style.
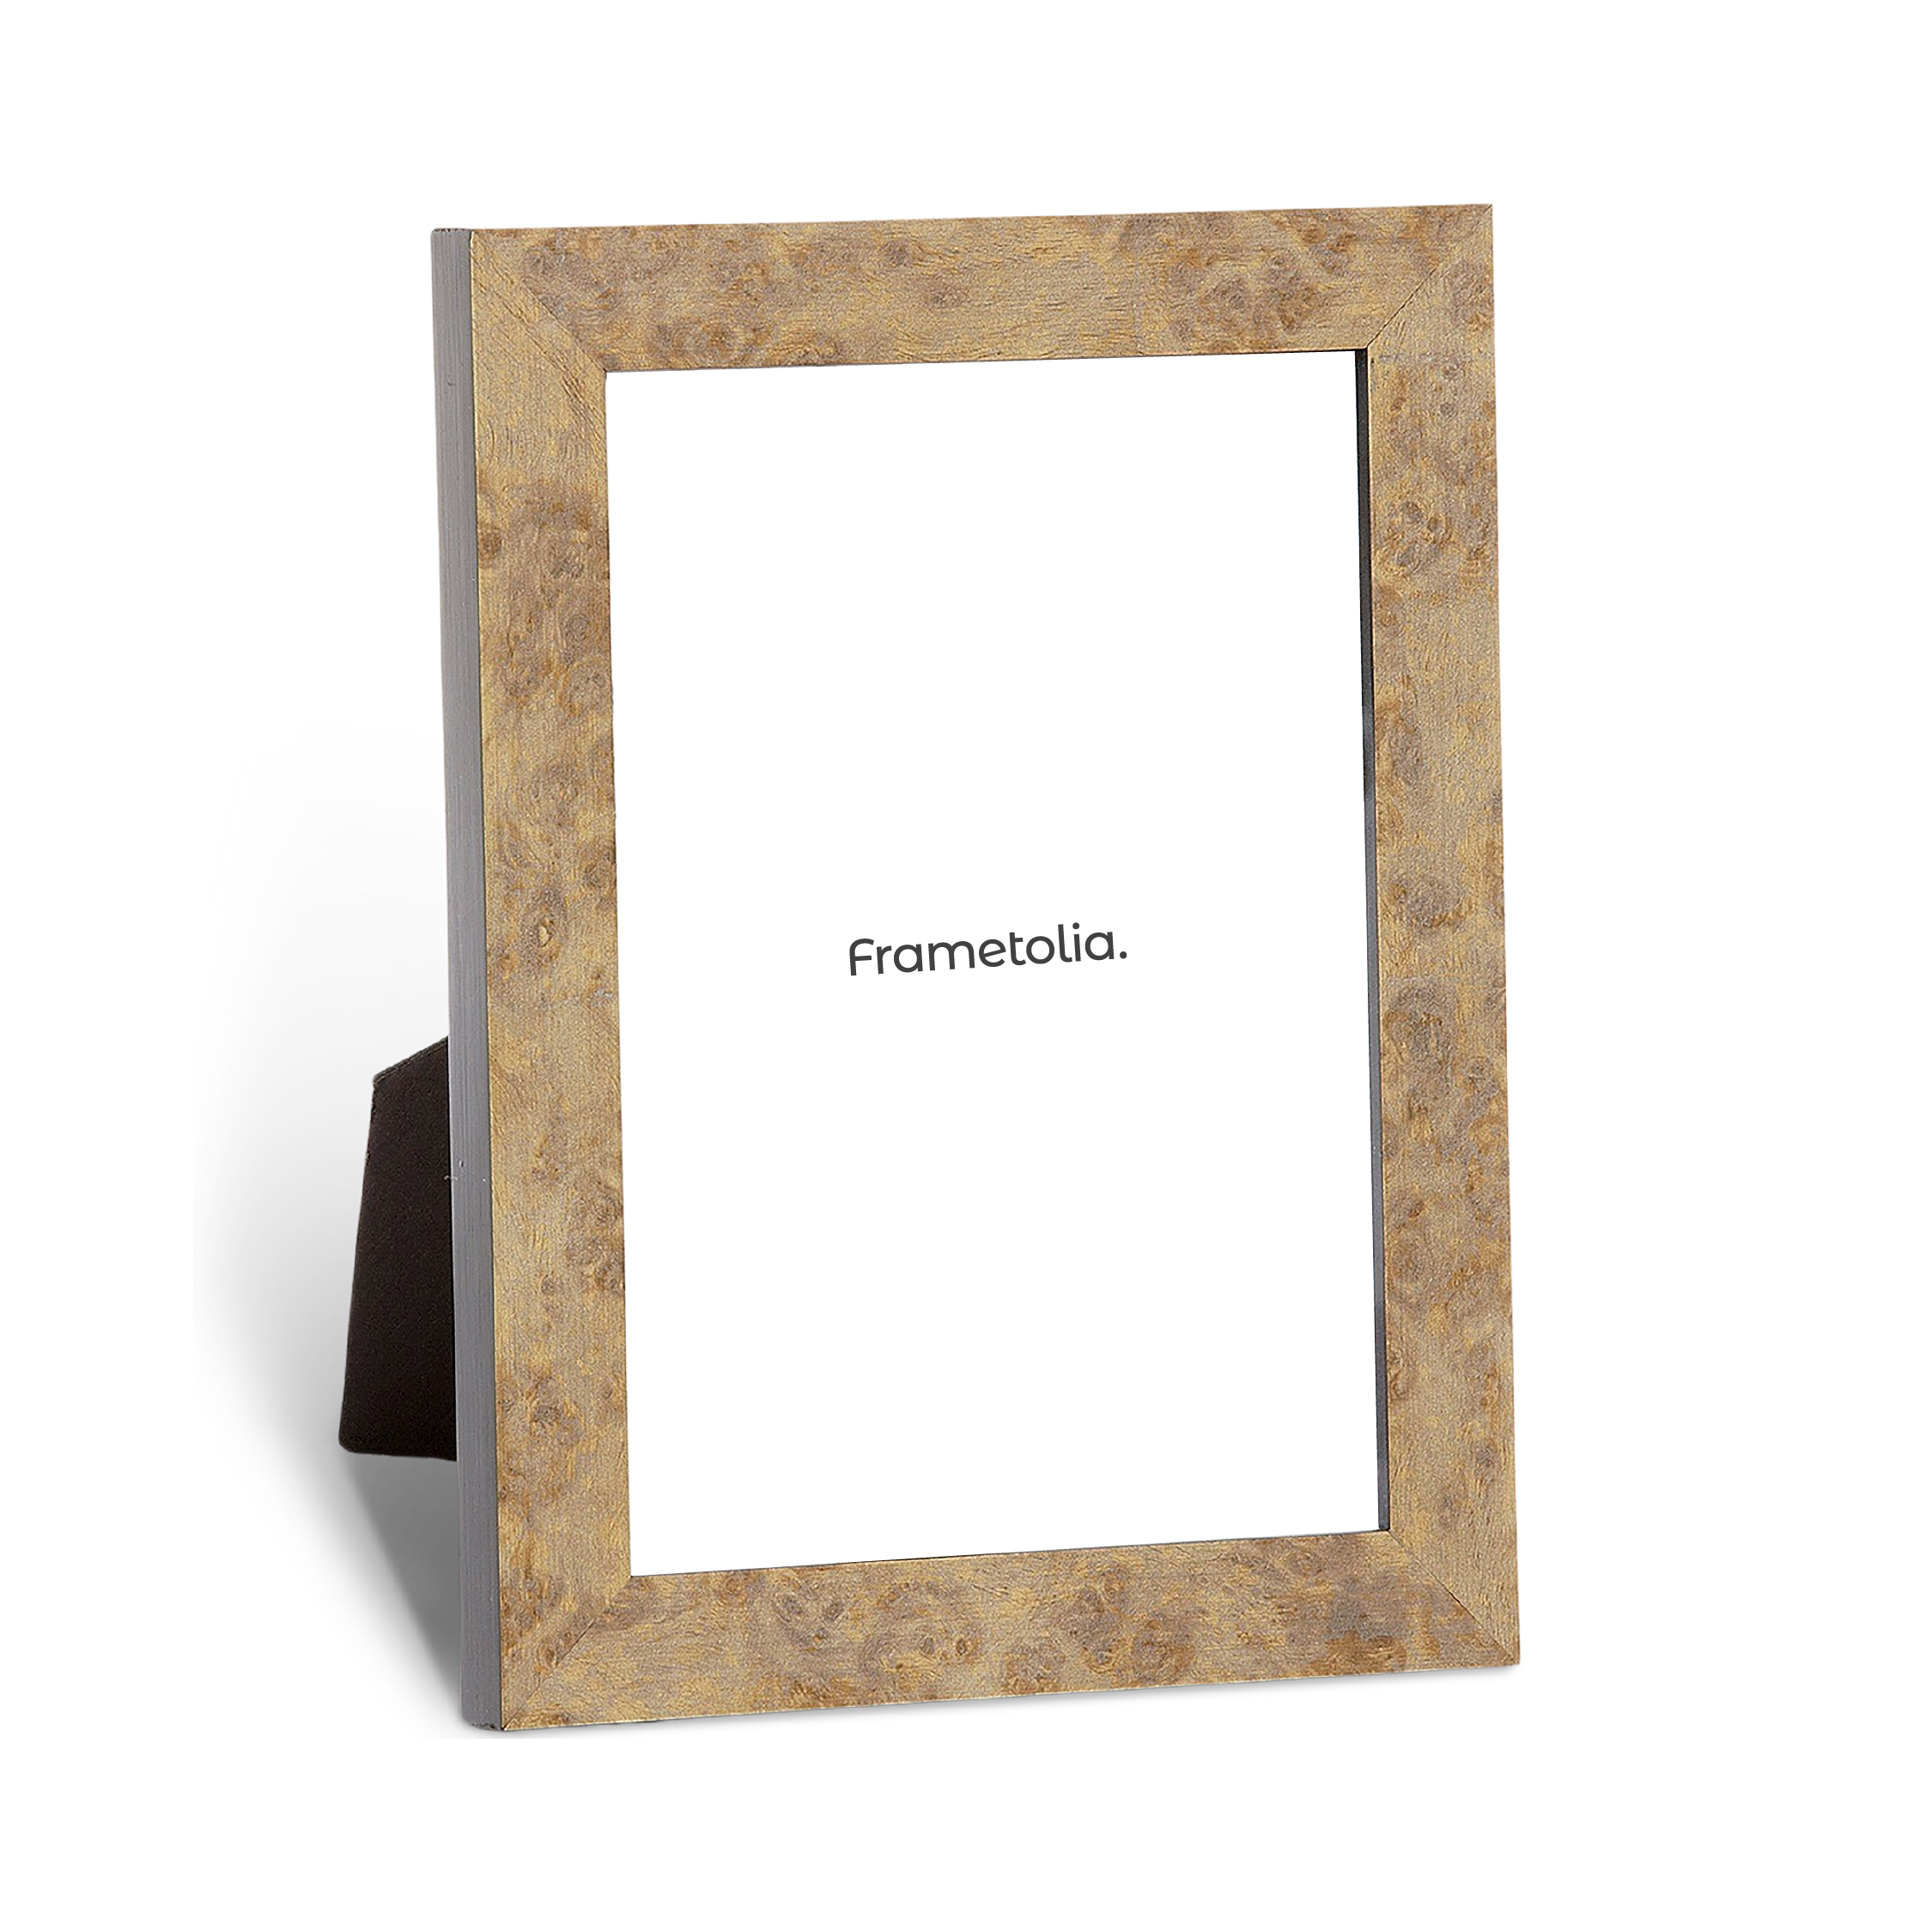
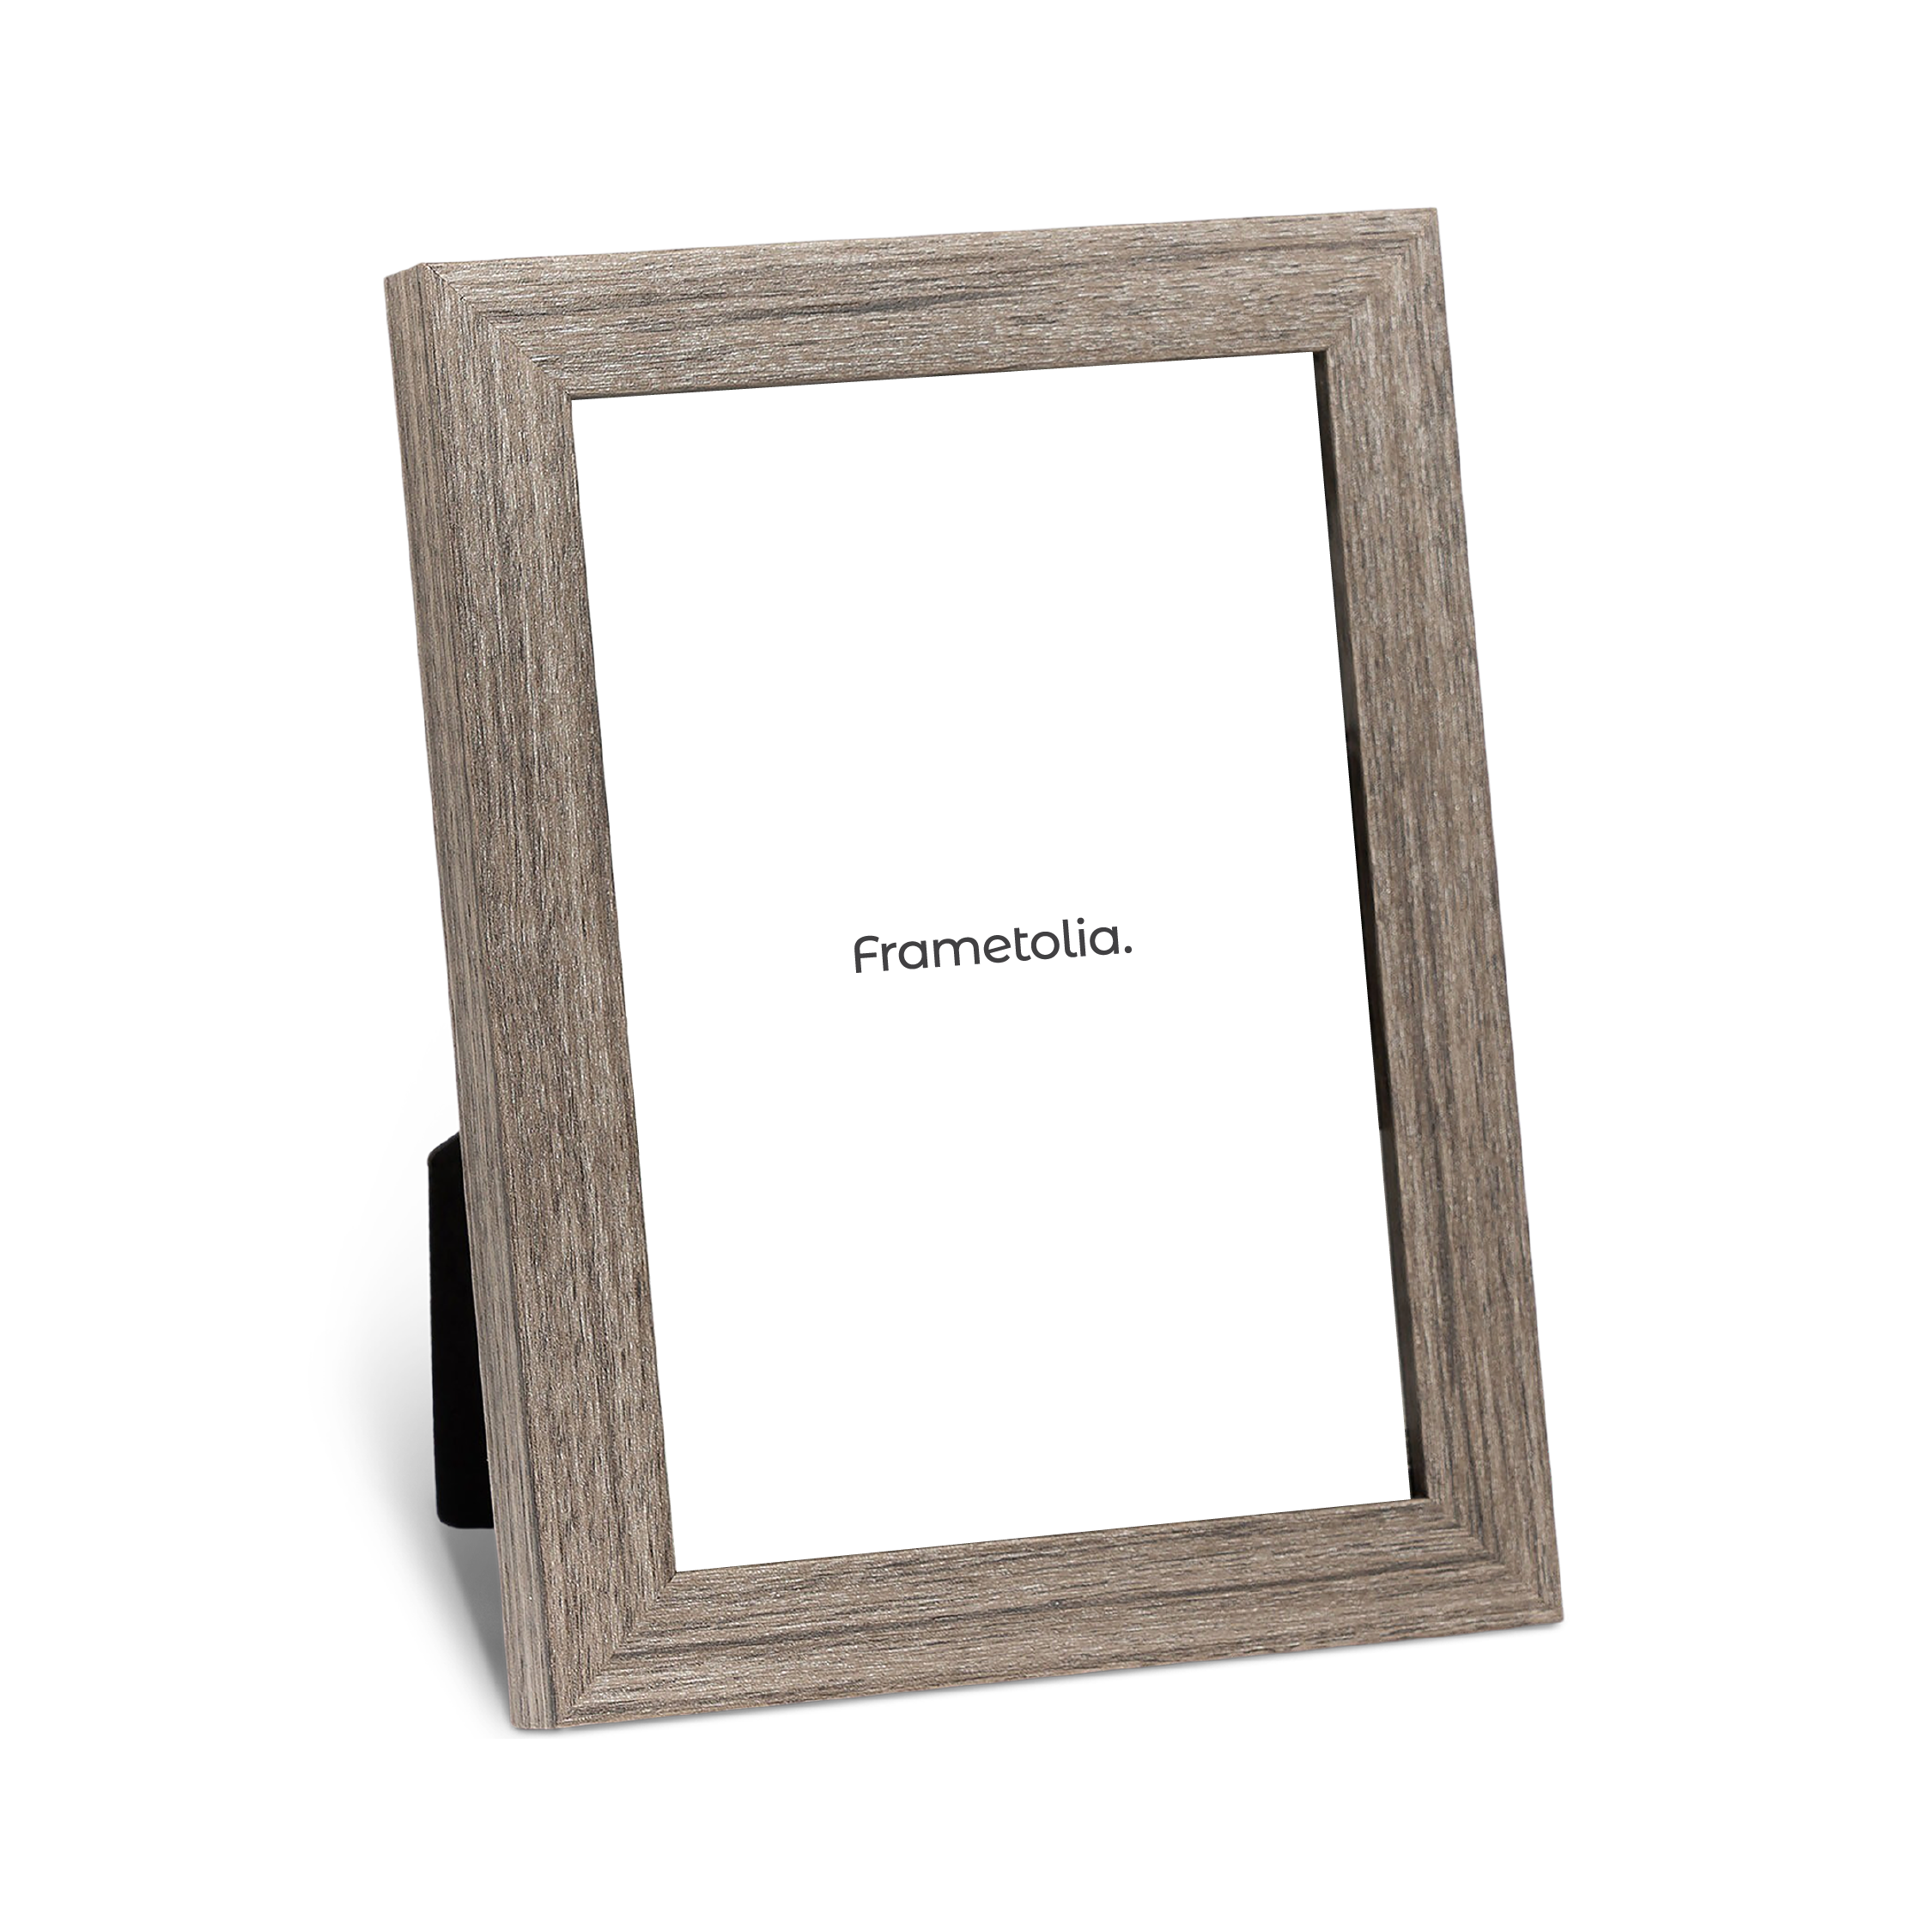
- Classic and Elegant: Wooden frames in natural or stained finishes are timeless and versatile, suitable for most floral arrangements.
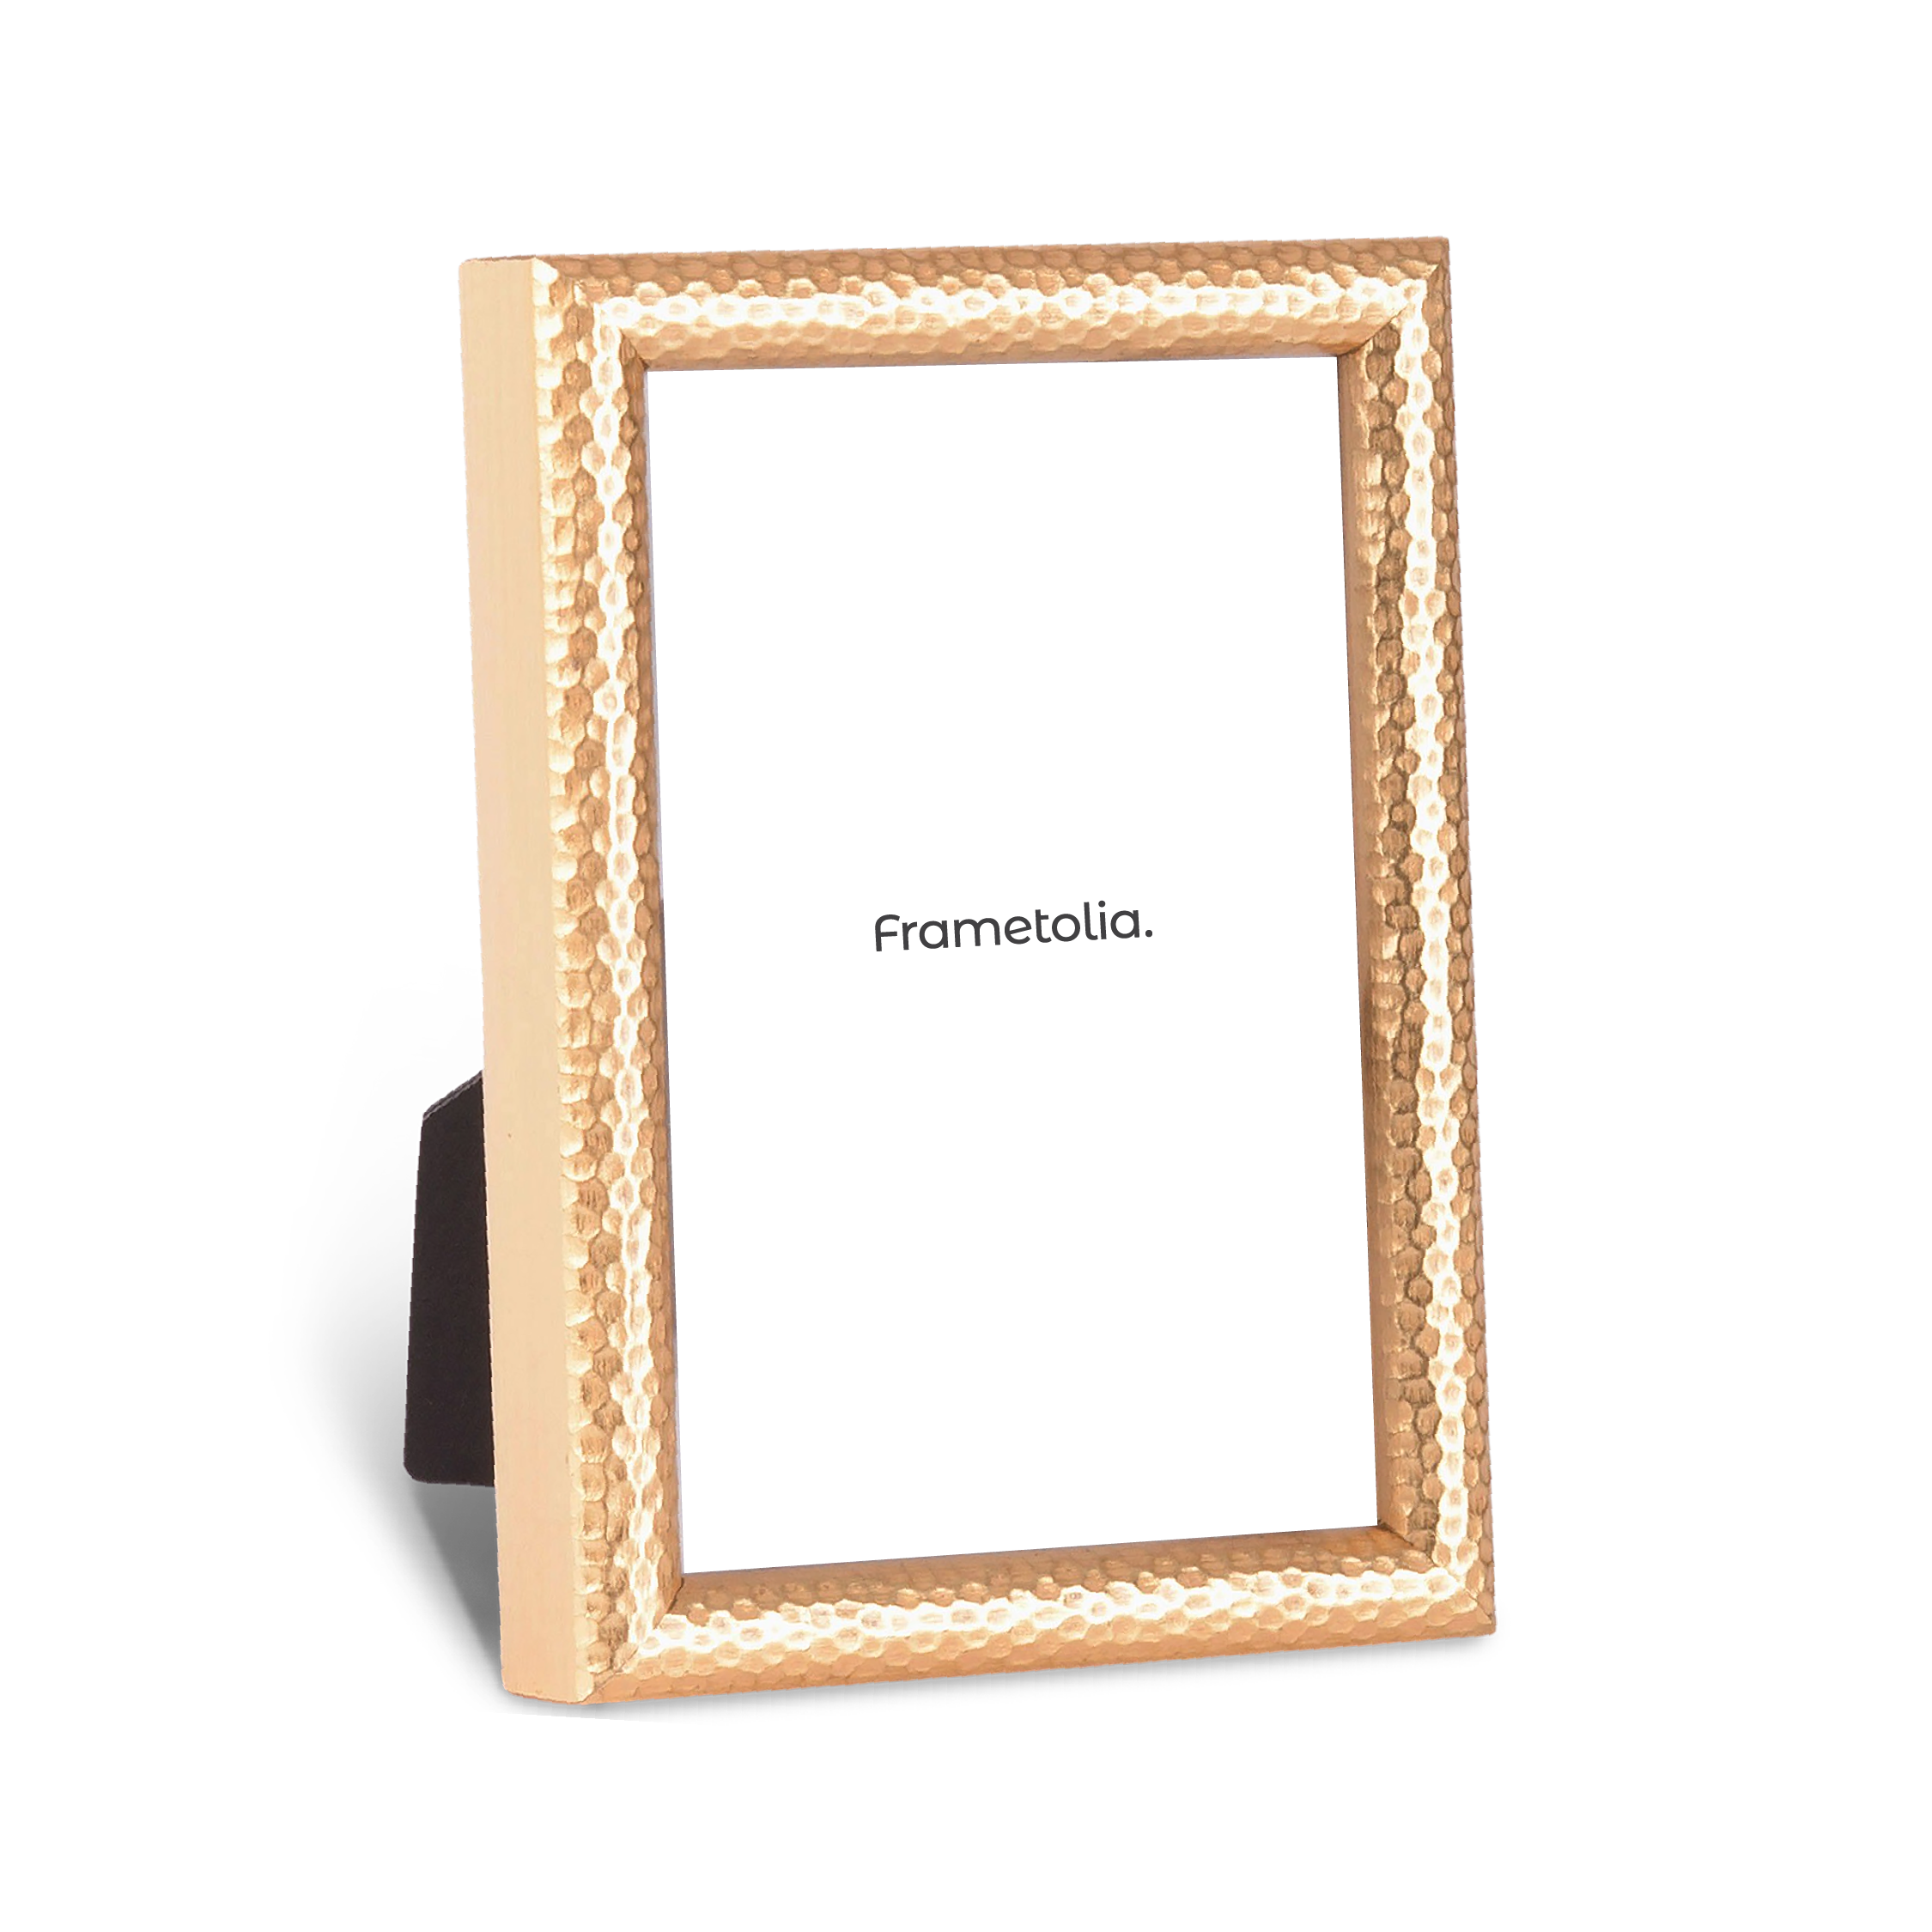
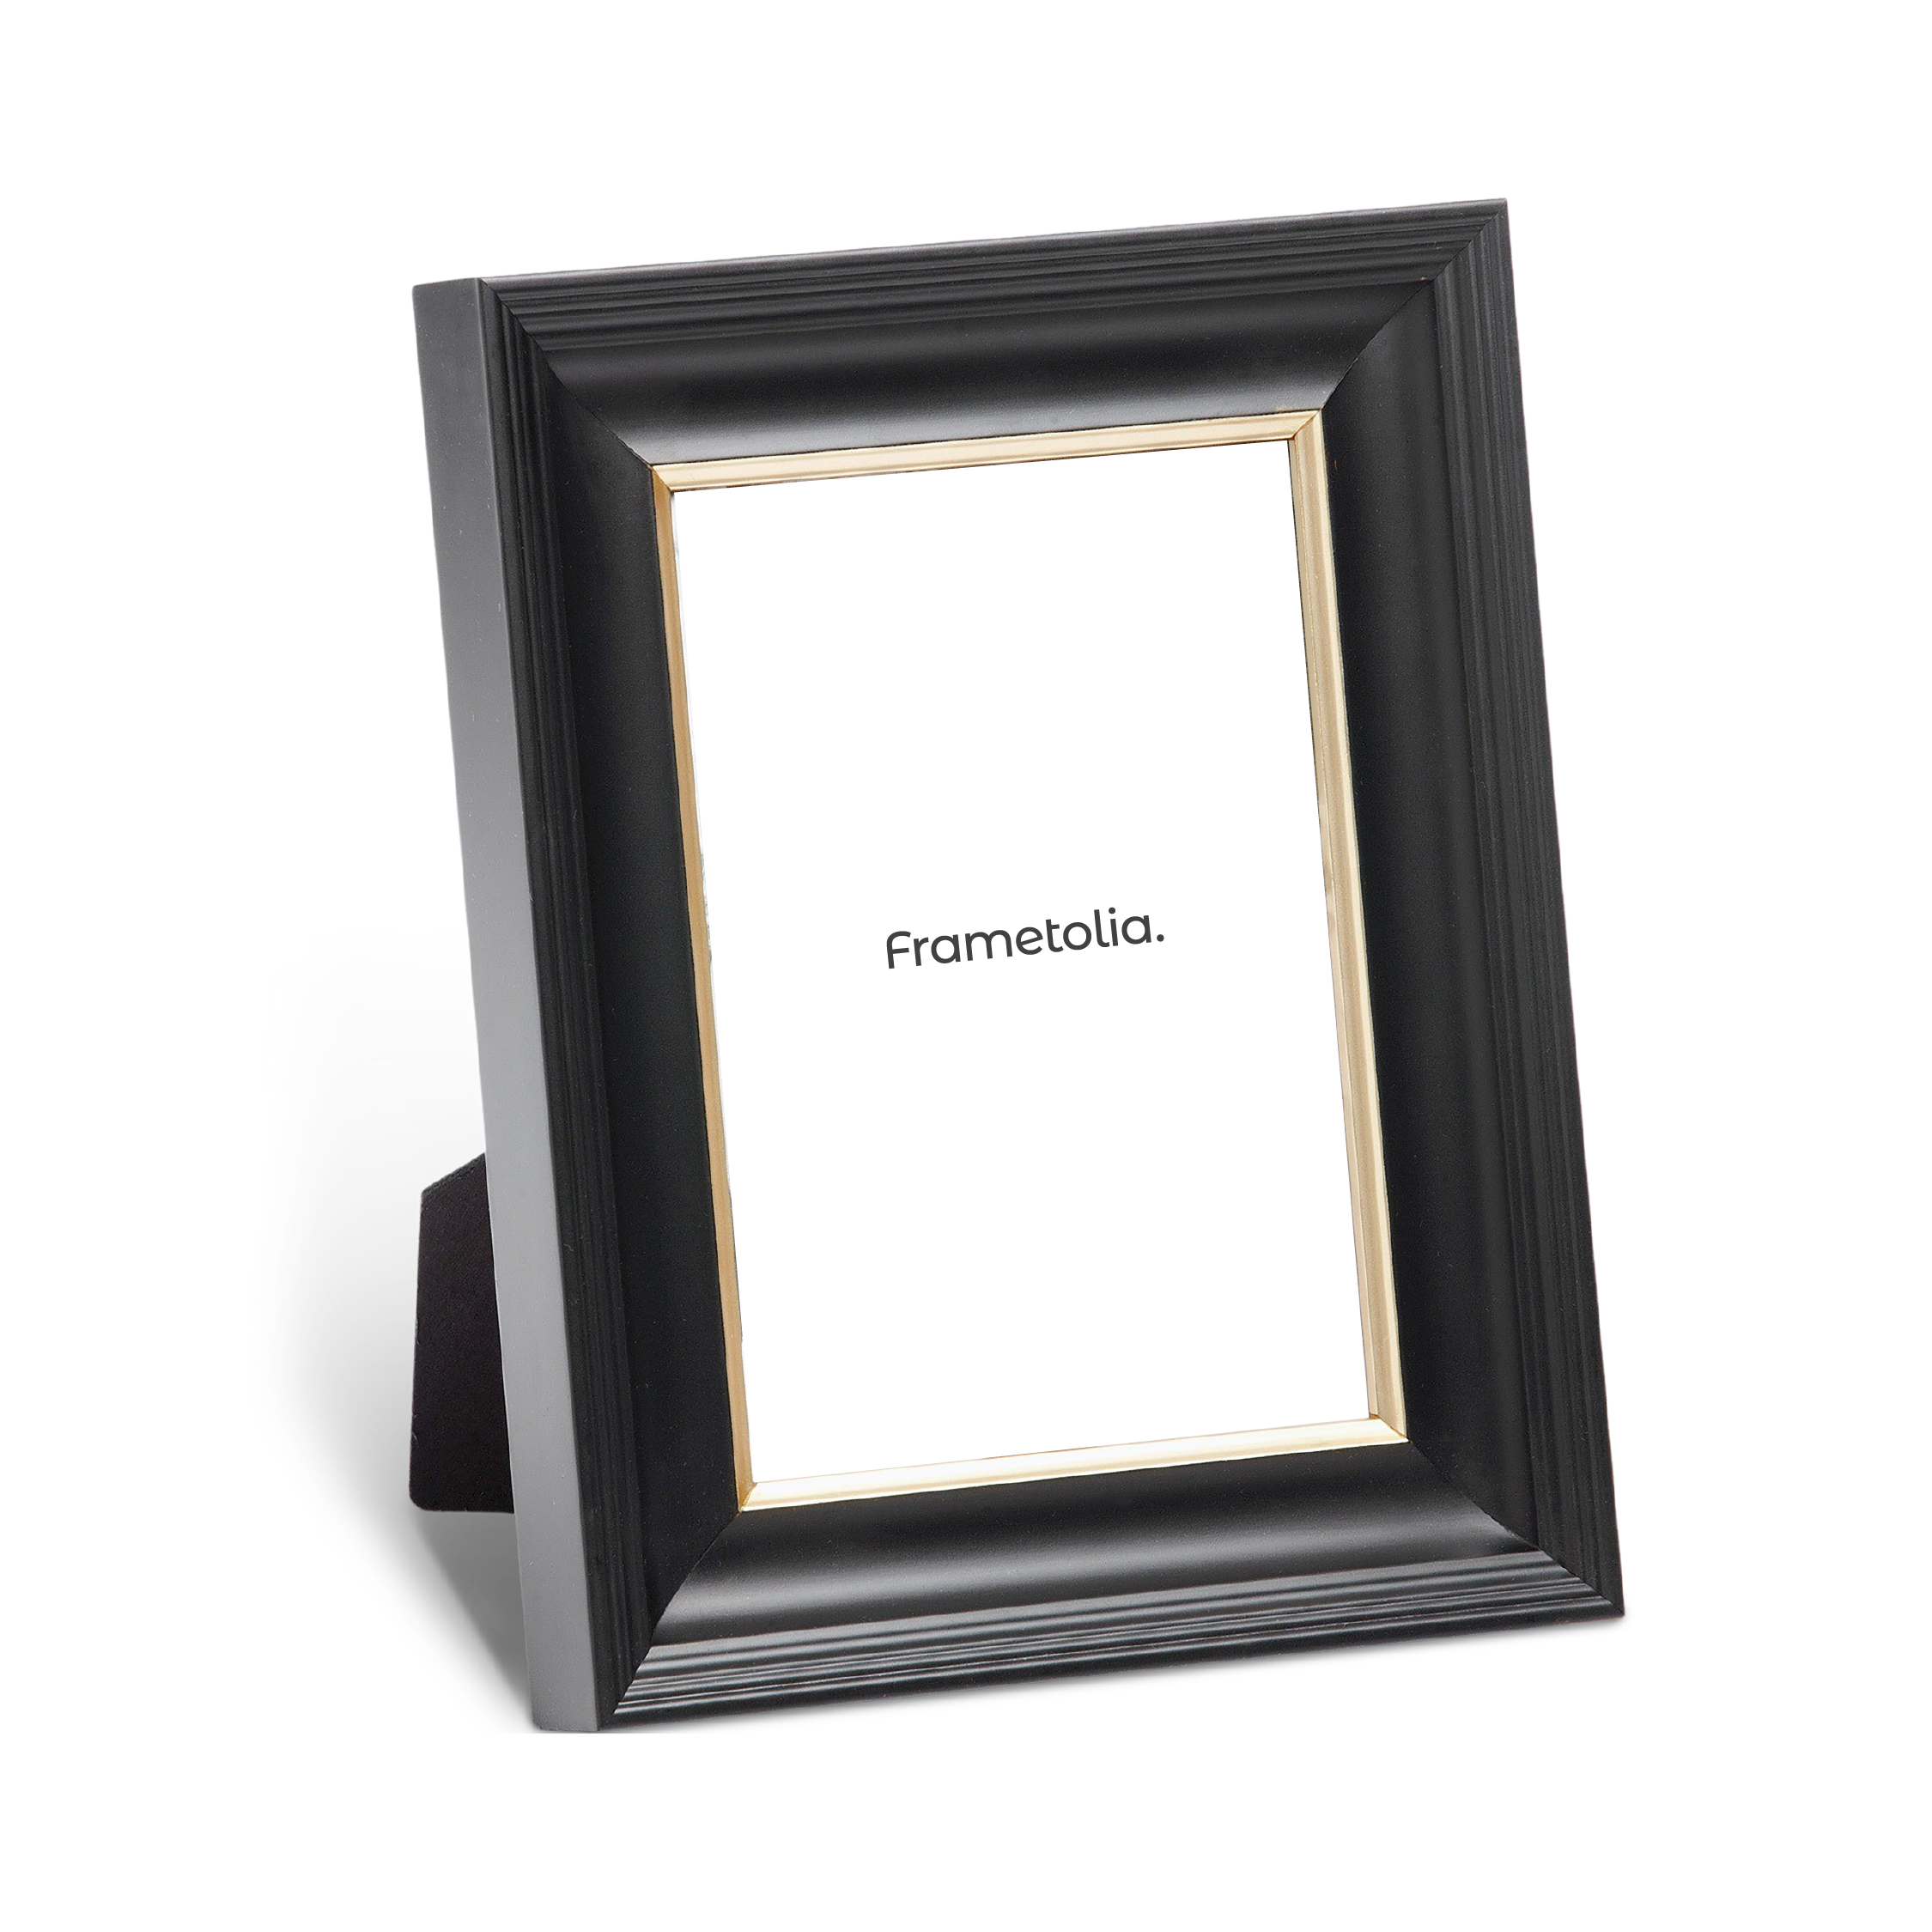
- Modern and Sleek: Frames in black, white, or metallic finishes offer a contemporary look that pairs well with minimalist decor.
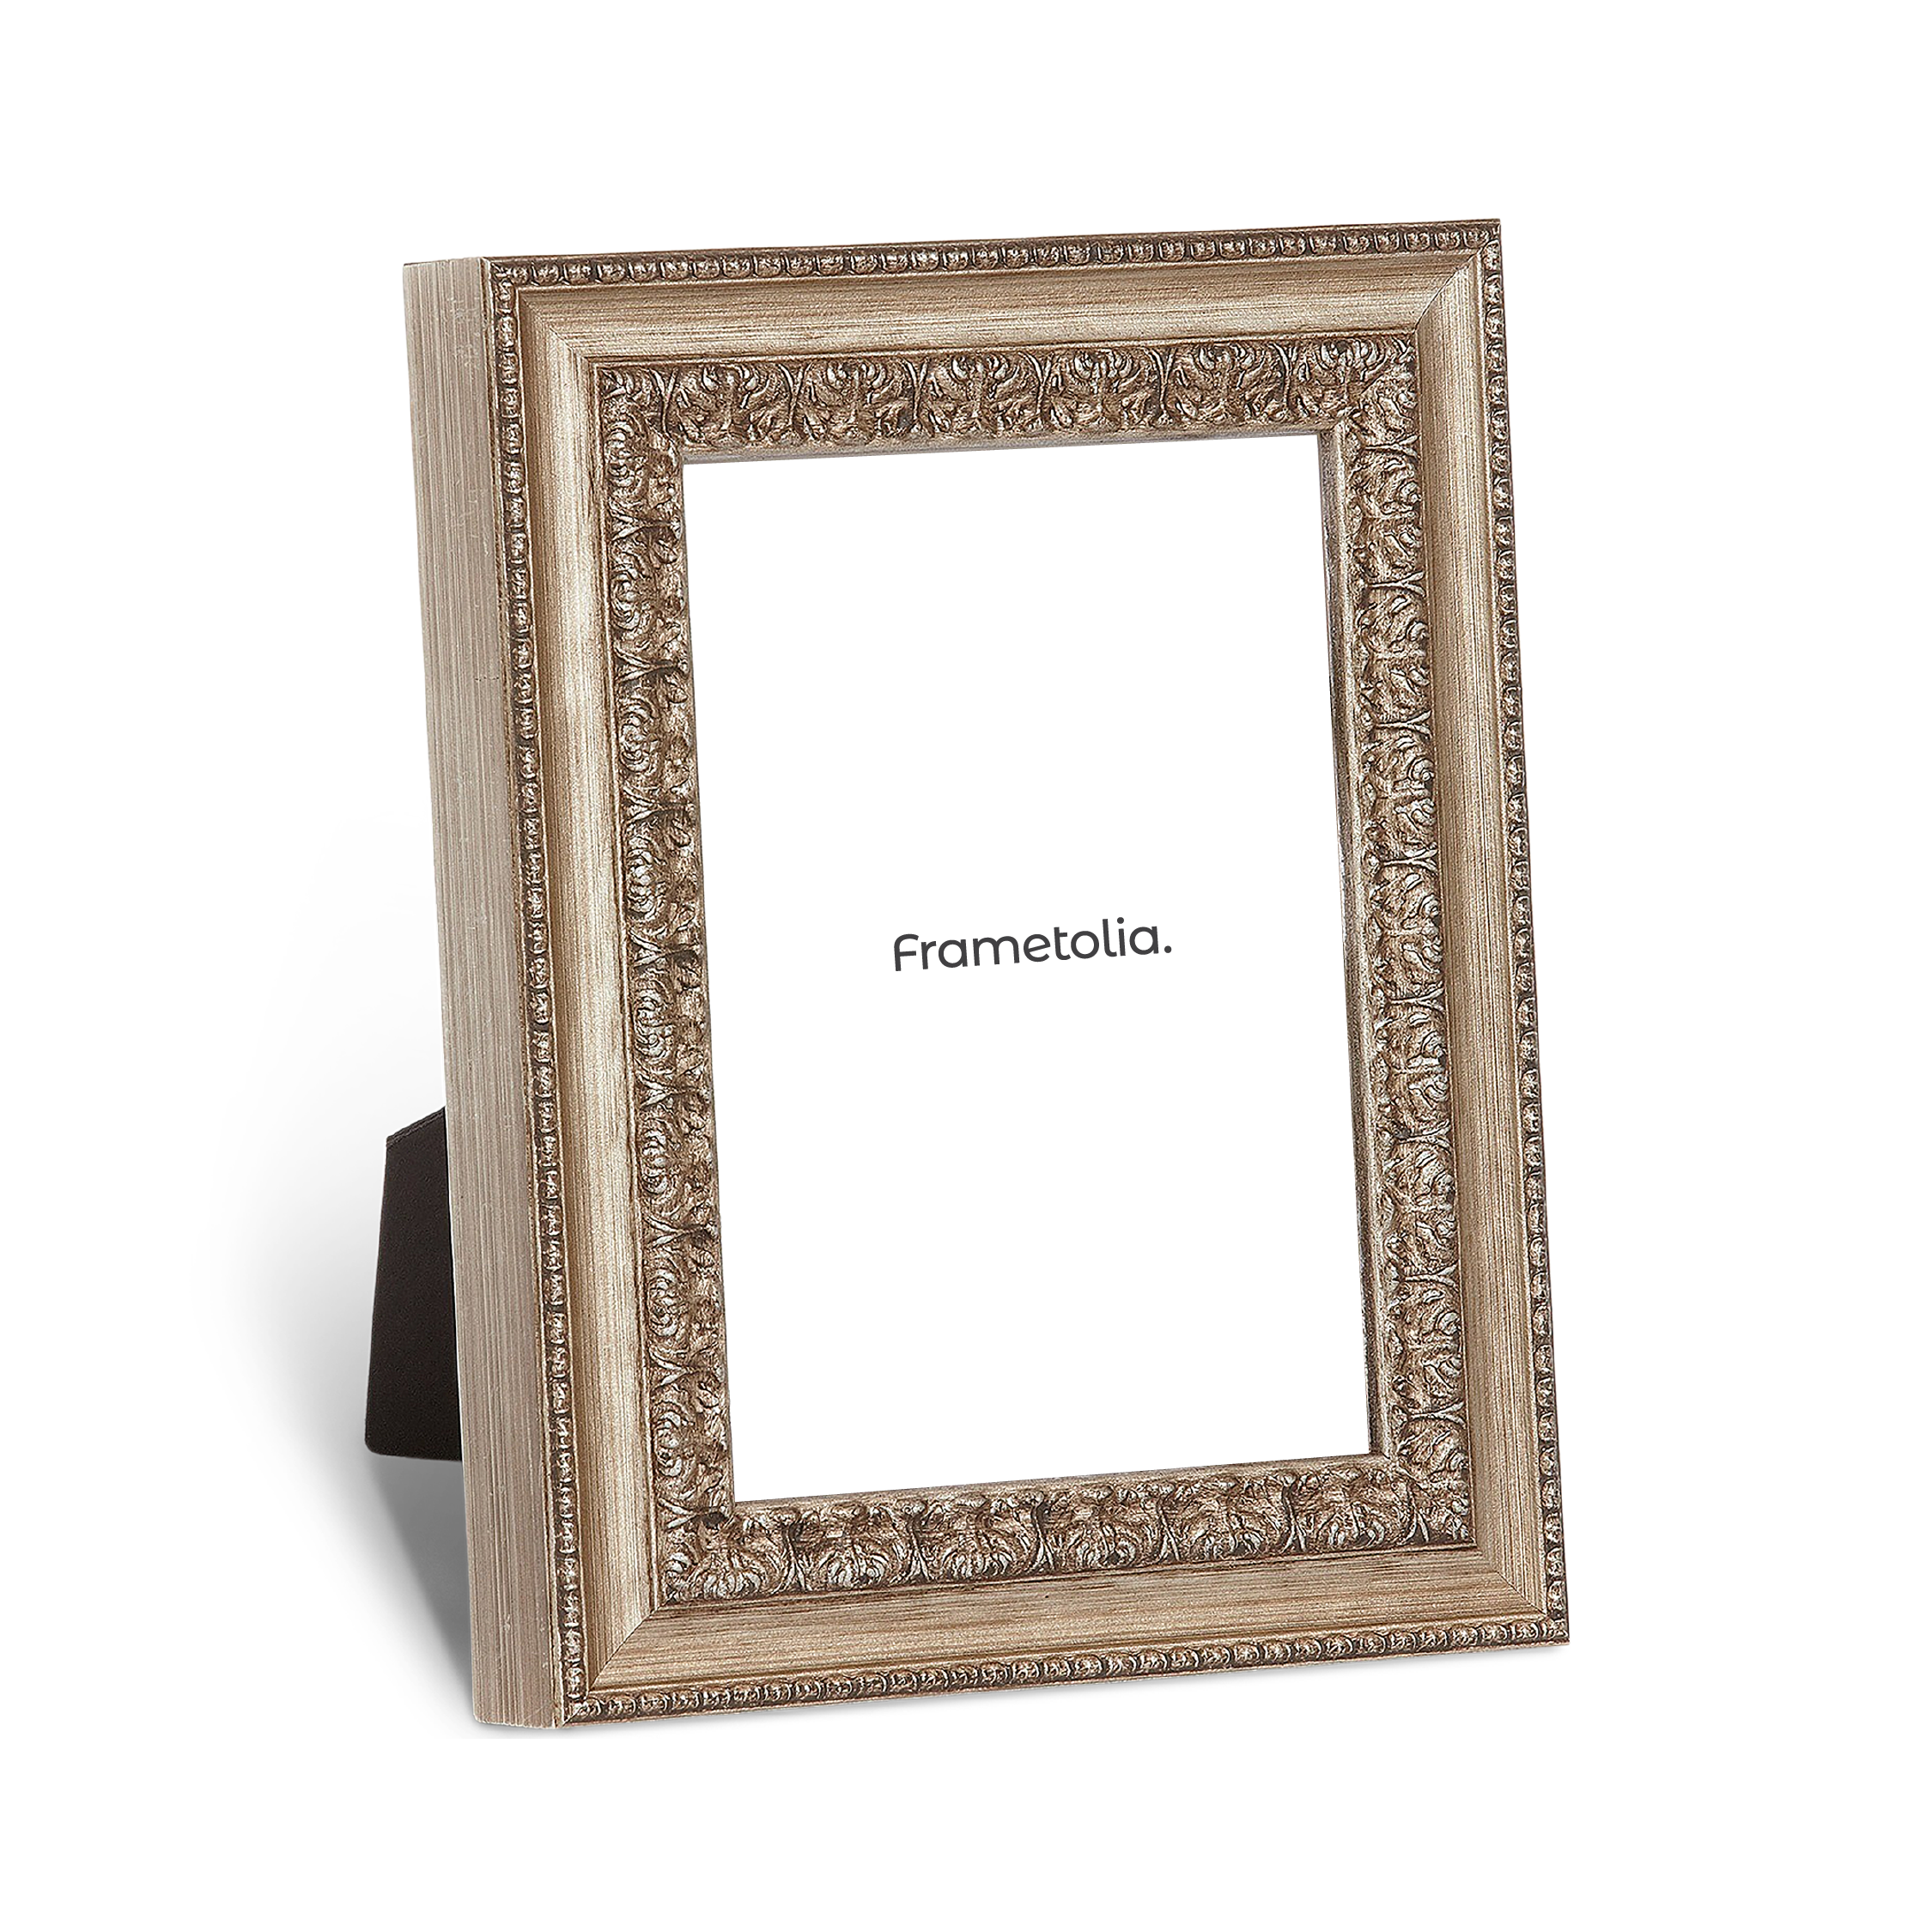
- Rustic and Vintage: Distressed wood or ornate frames add a charming, vintage feel that works beautifully with wildflowers and countryside bouquets.
Choosing a Frame Color
The frame color should enhance and complement the flowers without overpowering them. Here are our tips for which type of color to aim for:
- Neutral Tones: White, black, and natural wood tones are versatile and allow the flowers to be the focal point.
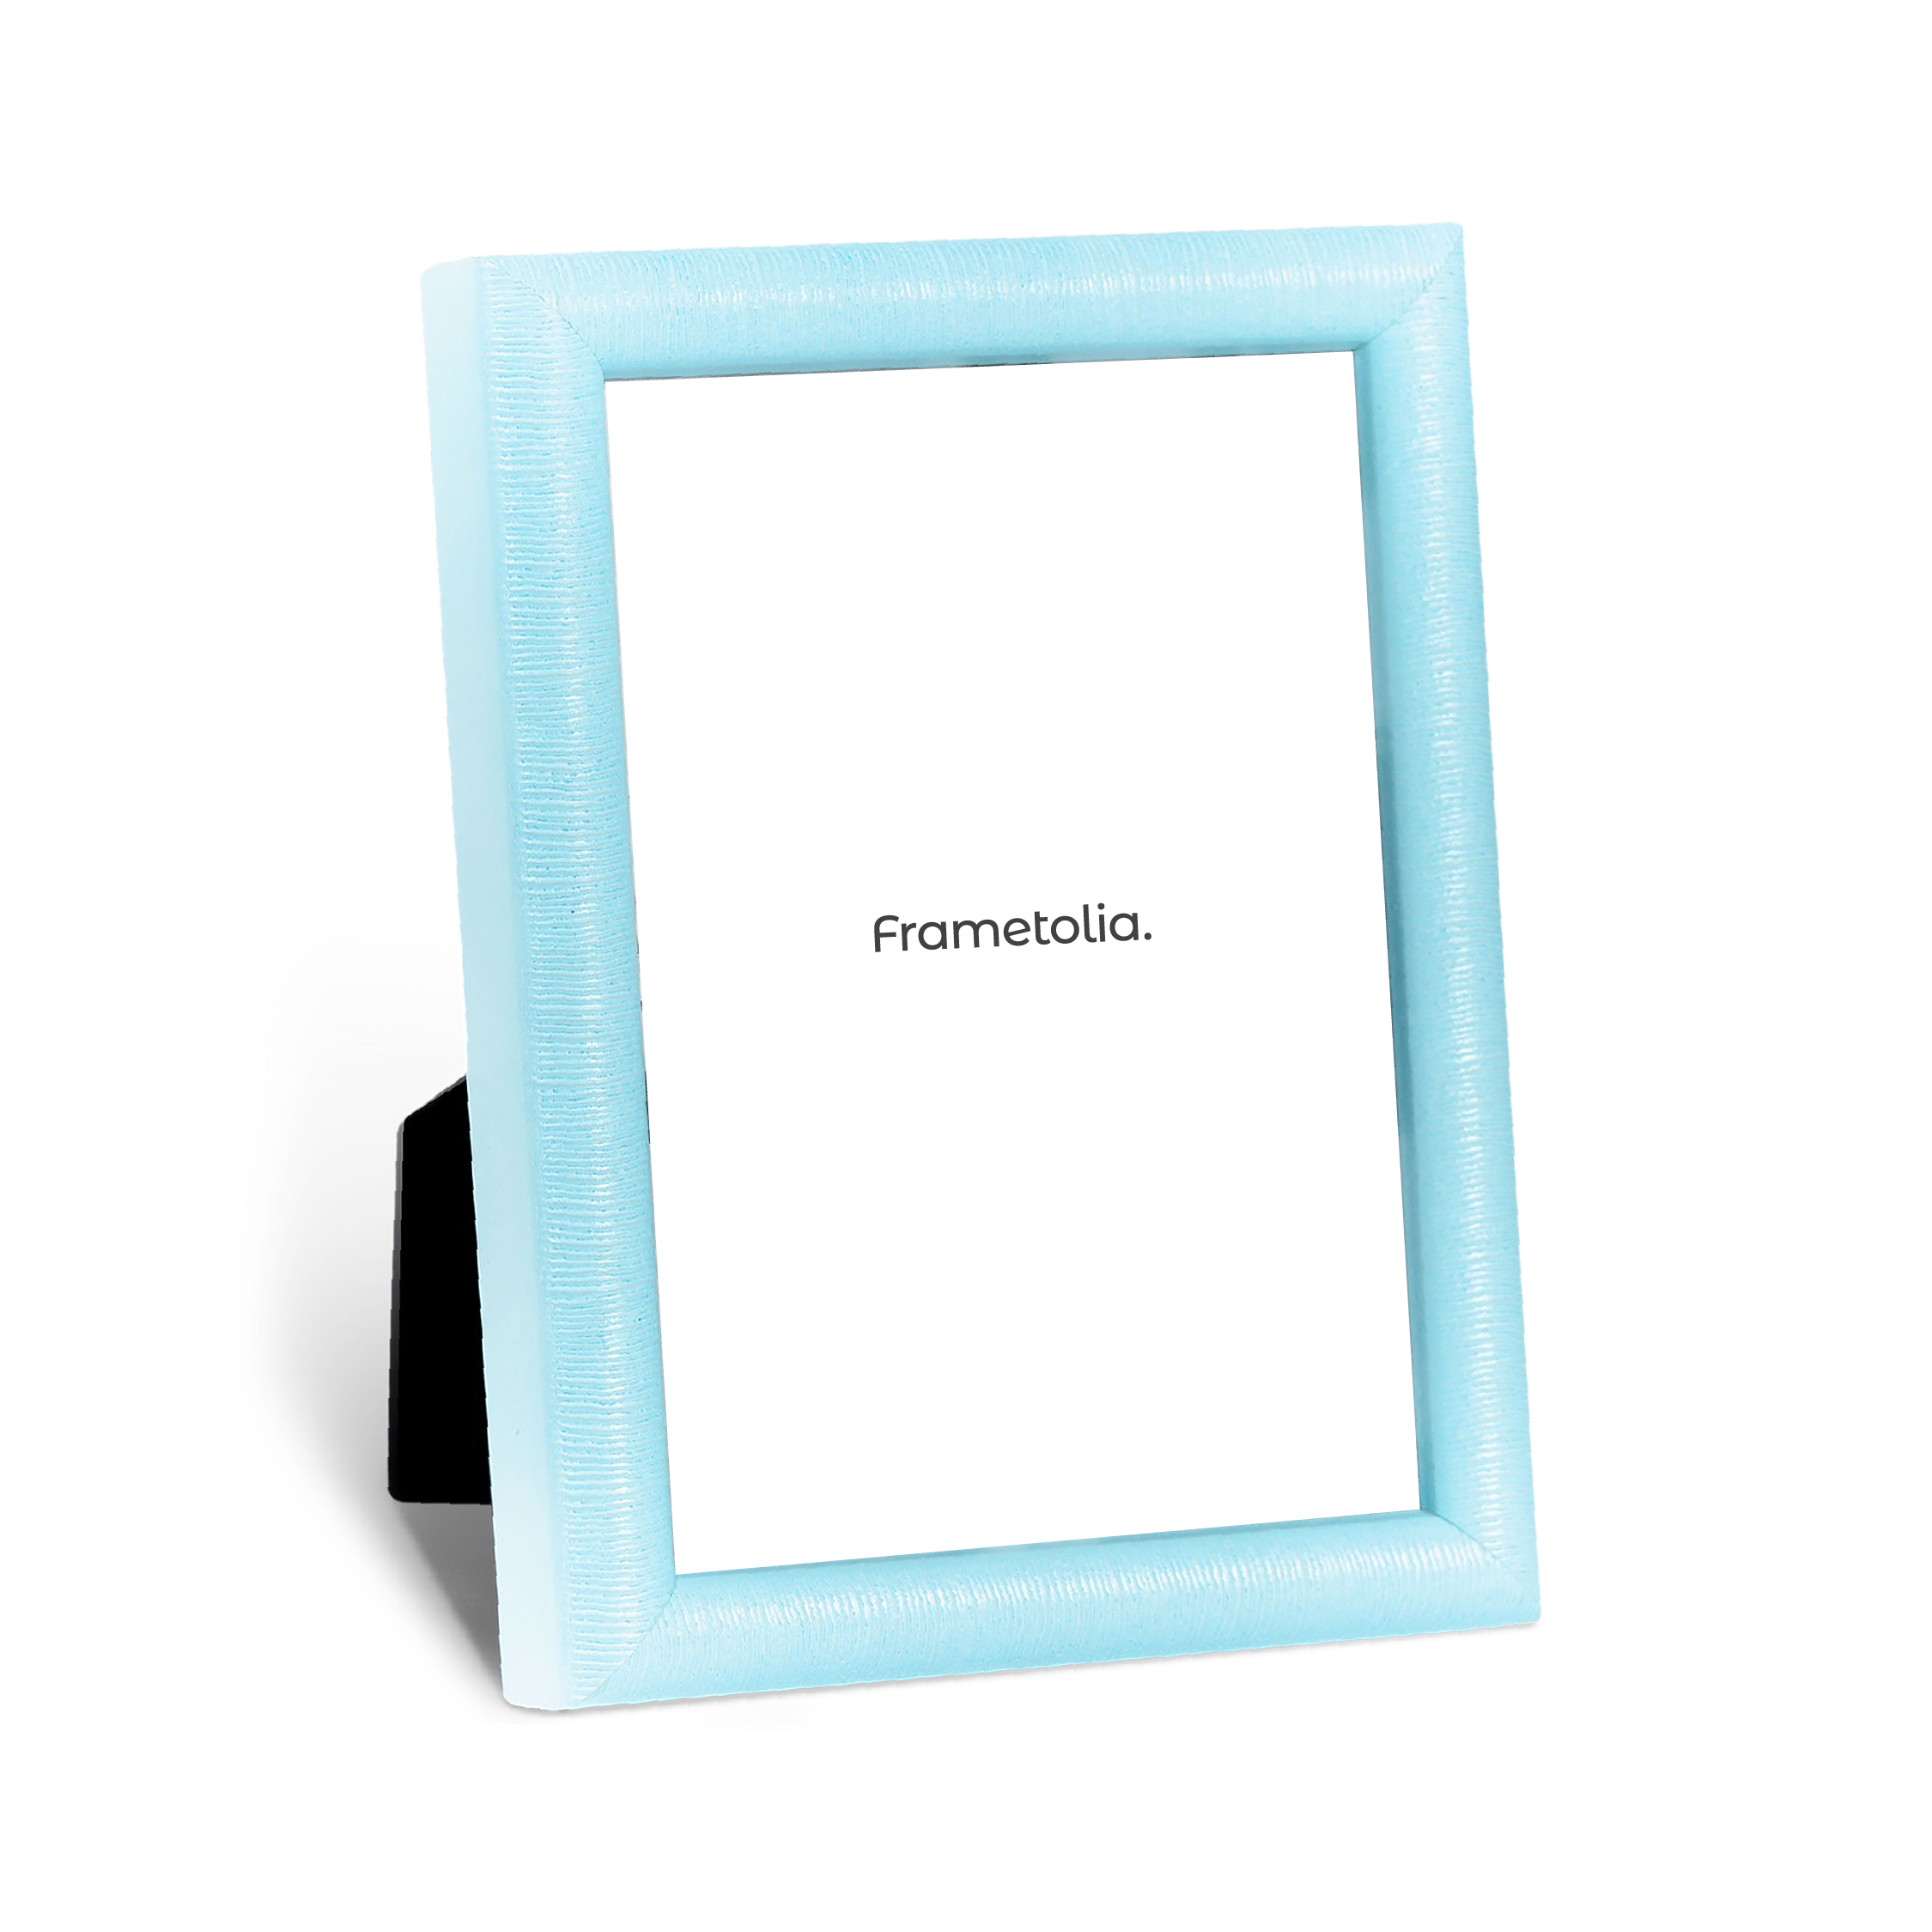
- Complementary Colors: Choose a frame color that complements the hues in your flowers. For example, a gold frame can enhance yellow and orange tones, while a cool-toned frame can make blue and purple flowers pop.
- Contrasting Colors: For a bold statement, select a frame color that contrasts with the flowers. This can create a striking visual effect but should be done carefully to avoid clashing.
Tips for Displaying Your Framed Dried Flowers
Now that your dried flowers are beautifully framed, it’s time to display them! These framed pieces look stunning in living rooms, bedrooms, or even offices. Avoid placing them in direct sunlight to prevent fading. Dust the frame regularly to keep it looking pristine. Are you on a DIY spree? If you are making plural framed dried flower pieces consider hanging them together to make a cottage core collage wall.
Frames for More than Photos
Creating a framed dried flower piece is a rewarding and creative project. Not only does it preserve the beauty of flowers, but it also adds a personalized touch to your home decor. Don’t be afraid to experiment with different flowers and frame styles to create something truly unique. We hope this guide has inspired you to start your own dried flower framing project, and if you're looking for the perfect dried flower picture frame - you know where to find us. Happy Decorating!
